Welcome to the tutorial on Charmed MLflow V2! MLflow is an open-source platform, used for managing machine learning workflows. It has four primary functions that include experiment tracking, model registry, model management and code reproducibility.
So wait, what does “Charmed MLflow” mean? Is it the same thing as MLflow? Yes and no. MLflow is a complex application, consisting of many components running together and communicating with each other. Charmed MLflow is a charm bundle that allows us to deploy MLflow quickly and easily. Don’t worry too much about what a “charm bundle” is right now. The key thing is that it’s going to make deploying MLflow very convenient for us: we’ll get MLflow up an running with just a few command line commands!
In this tutorial, we’re going to explore Charmed MLflow in a practical way. Using the CLI tool juju, we’ll deploy MLflow to a local microk8s cloud.
Prerequisites:
We are assuming that you are running this tutorial on a local machine with the following specs:
- Runs Ubuntu 22.04 or later
- Has at least 50GB free disk space
Contents:
- Install and prepare MicroK8s
- Install Juju
- Deploy mlflow bundle
- Access MLflow
- Object storage credentials
Install and prepare MicroK8s
Let’s install MicroK8s. MicroK8s is installed from a snap package. The published snap maintains differentchannels for different releases of Kubernetes.
sudo snap install microk8s --classic --channel=1.24/stable
For MicroK8s to work without having to use sudo for every command, it creates a group called microk8s. To make it more convenient to run commands, you will add the current user to this group:
sudo usermod -a -G microk8s $USER
newgrp microk8s
It is also useful to make sure the user has the proper access and ownership of any kubectl configuration files:
sudo chown -f -R $USER ~/.kube
Enable the following Microk8s add-ons to configure your Kubernetes cluster with extra services needed to run Charmed Kubeflow.
microk8s enable dns hostpath-storage ingress metallb:10.64.140.43-10.64.140.49
Here, we added a DNS service, so the applications can find each other, storage, an ingress controller so we can access Kubeflow components and the MetalLB load balancer application. You can see that we added some detail when enabling MetalLB, in this case the address pool to use.
See More : Microk8s | How to use addons
We’ve now installed and configured MicroK8s. It will start running automatically, but can take 5 minutes or so before it’s ready for action.
Run the following command to tell MicroK8s to report its status to us when it’s ready:
microk8s status --wait-ready
Be patient - this command may not return straight away. The --wait-ready flag tells MicroK8s to wait for the Kubernetes services to initialise before returning. Once MicroK8s is ready, you will see something like the following output:
microk8s is running
Below this there will be a bunch of other information about the cluster.
Great, we have now installed and configured MicroK8s, and it’s running and ready!
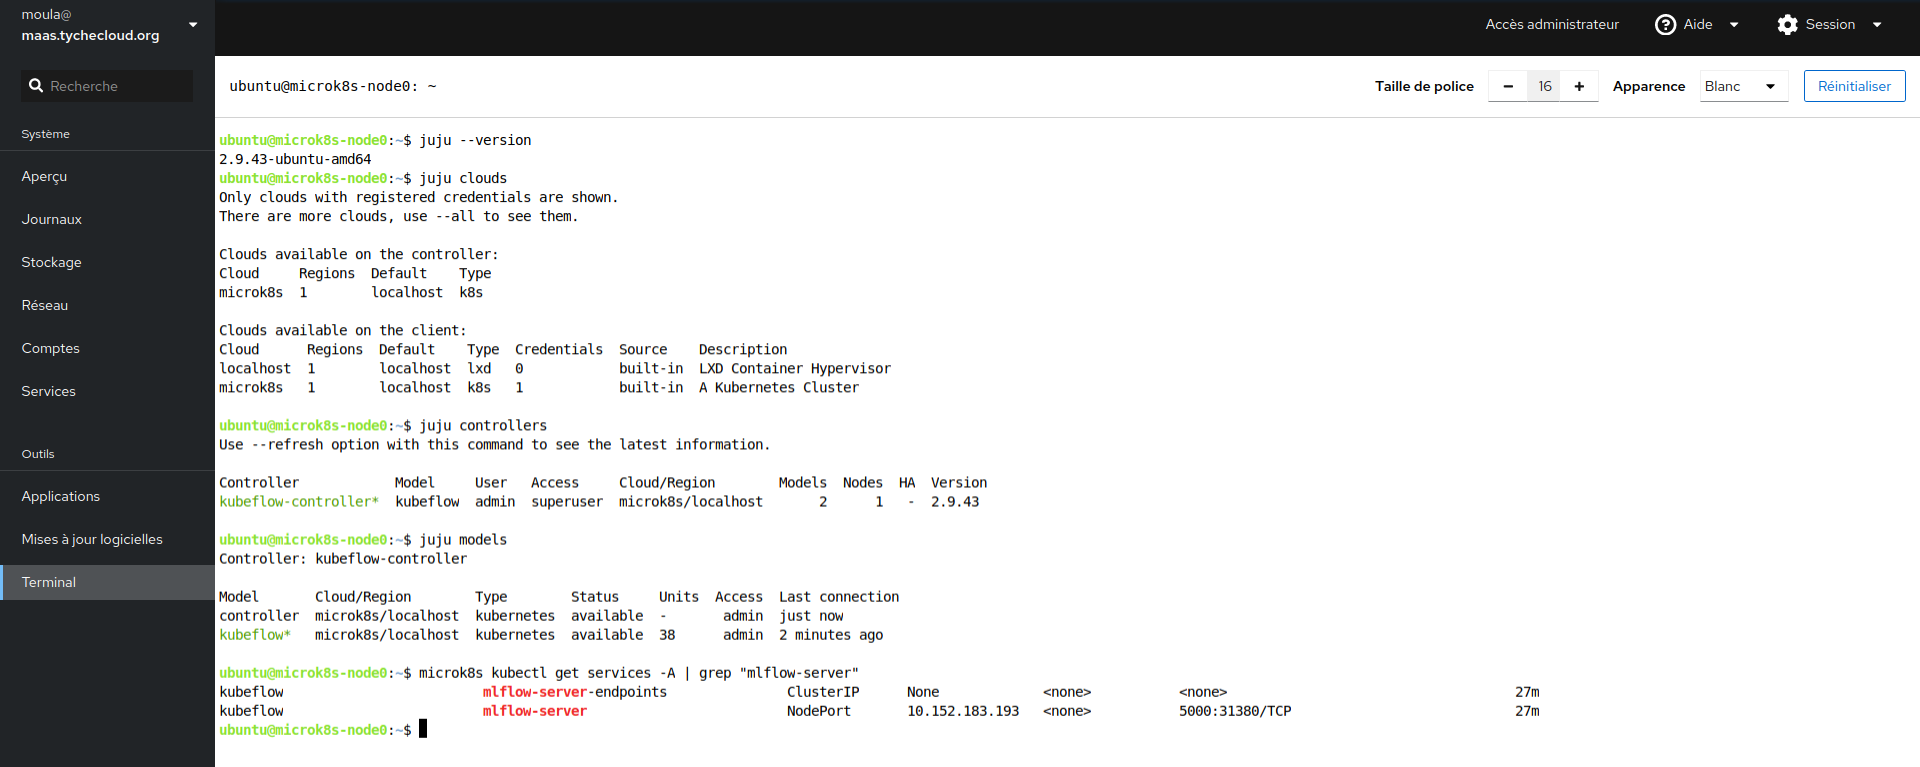
Install Juju
Juju is an operation Lifecycle manager (OLM) for clouds, bare metal or Kubernetes. We will be using it to deploy and manage the components which make up Kubeflow.To install Juju from snap, run this command:
sudo snap install juju --classic --channel=2.9/stable
Now, run the following command to deploy a Juju controller to the Kubernetes we set up with MicroK8s:
juju bootstrap microk8s
Sit tight while the command completes! The controller may take a minute or two to deploy.
The controller is Juju’s agent, running on Kubernetes, which can be used to deploy and control the components of Kubeflow.
Next, we’ll need to add a model for Kubeflow to the controller. Run the following command to add a model called kubeflow:
juju add-model kubeflow
The model name here can be anything. We’re just using
kubeflowbecause often you may want to deploy MLflow along with Kubeflow, and in that case, the model name must bekubeflow. So it’s not a bad habit to have.
The controller can work with different models, which map 1:1 to namespaces in Kubernetes. In this case, the model name must be kubeflow, due to an assumption made in the upstream Kubeflow Dashboard code.
Great job: Juju has now been installed and configured for Kubeflow!
Deploy MLflow bundle
Before deploying, run these commands:
sudo sysctl fs.inotify.max_user_instances=1280
sudo sysctl fs.inotify.max_user_watches=655360
We need to run the above because under the hood, microk8s uses inotify to interact with the filesystem, and in large microk8s deployments sometimes the default inotify limits are exceeded.
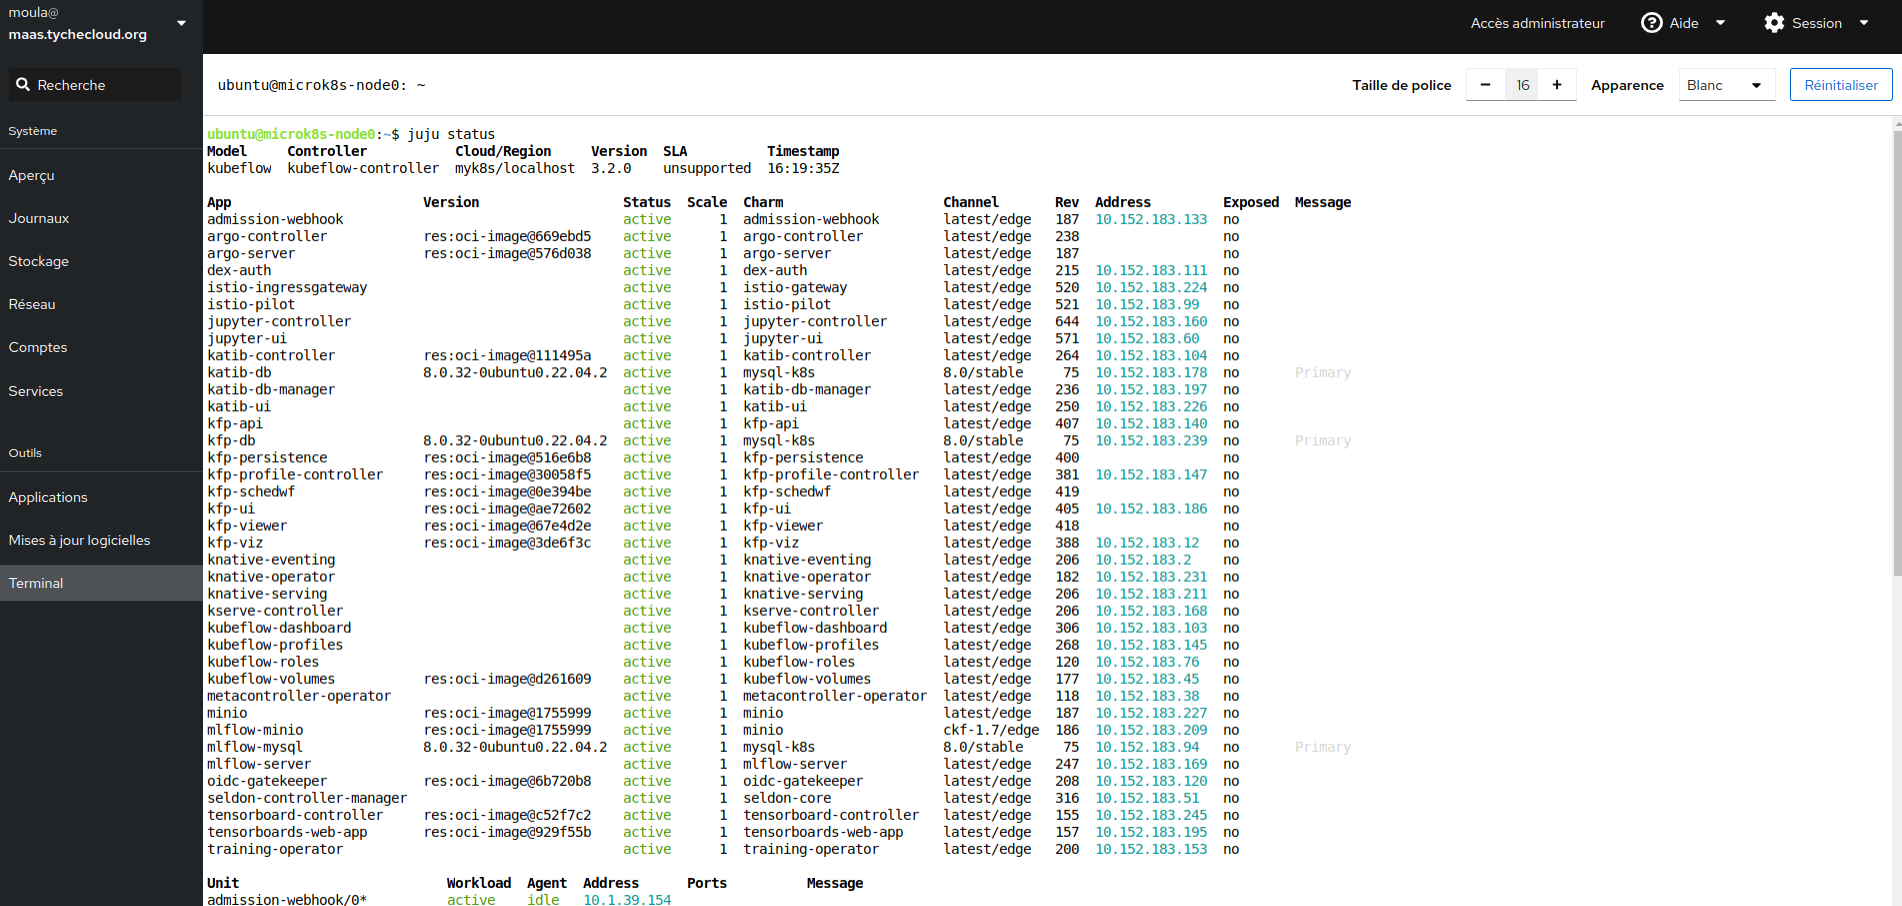
Let’s now use Juju to deploy Charmed MLflow. Run the following command:
juju deploy mlflow --channel=2.1/edge --trust
This deploys the latest edge version of MLflow with MinIO as object storage and MySQL as metadata store.
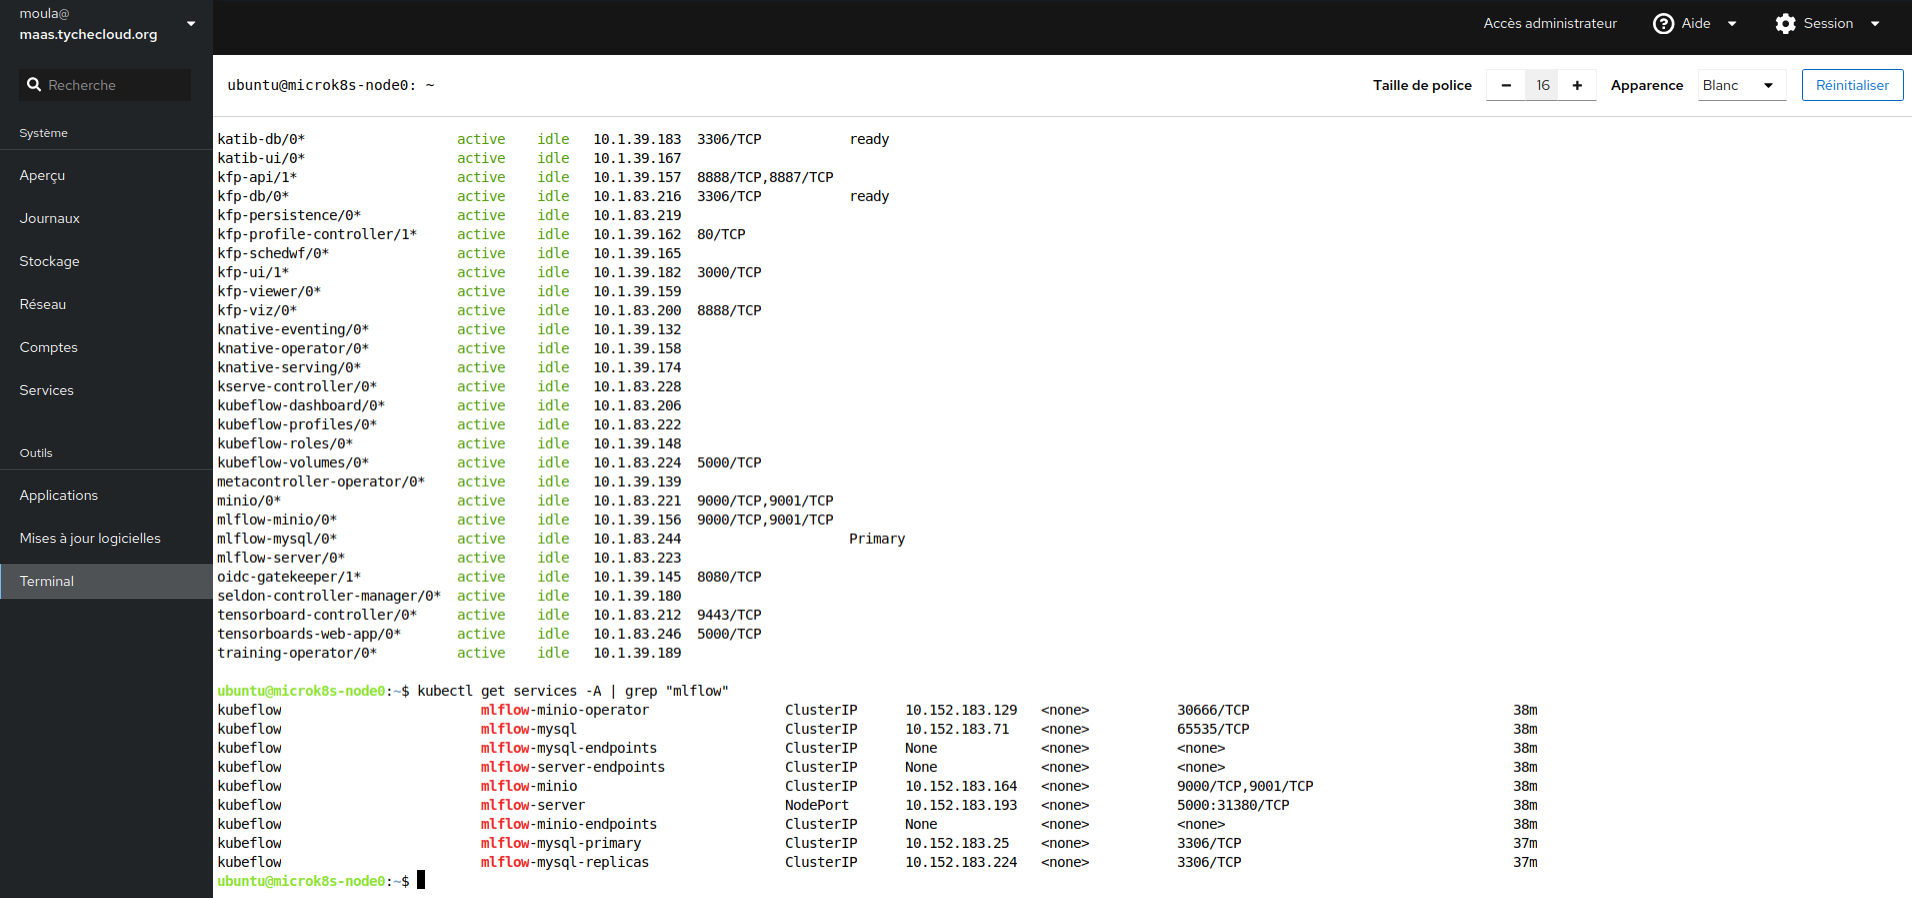
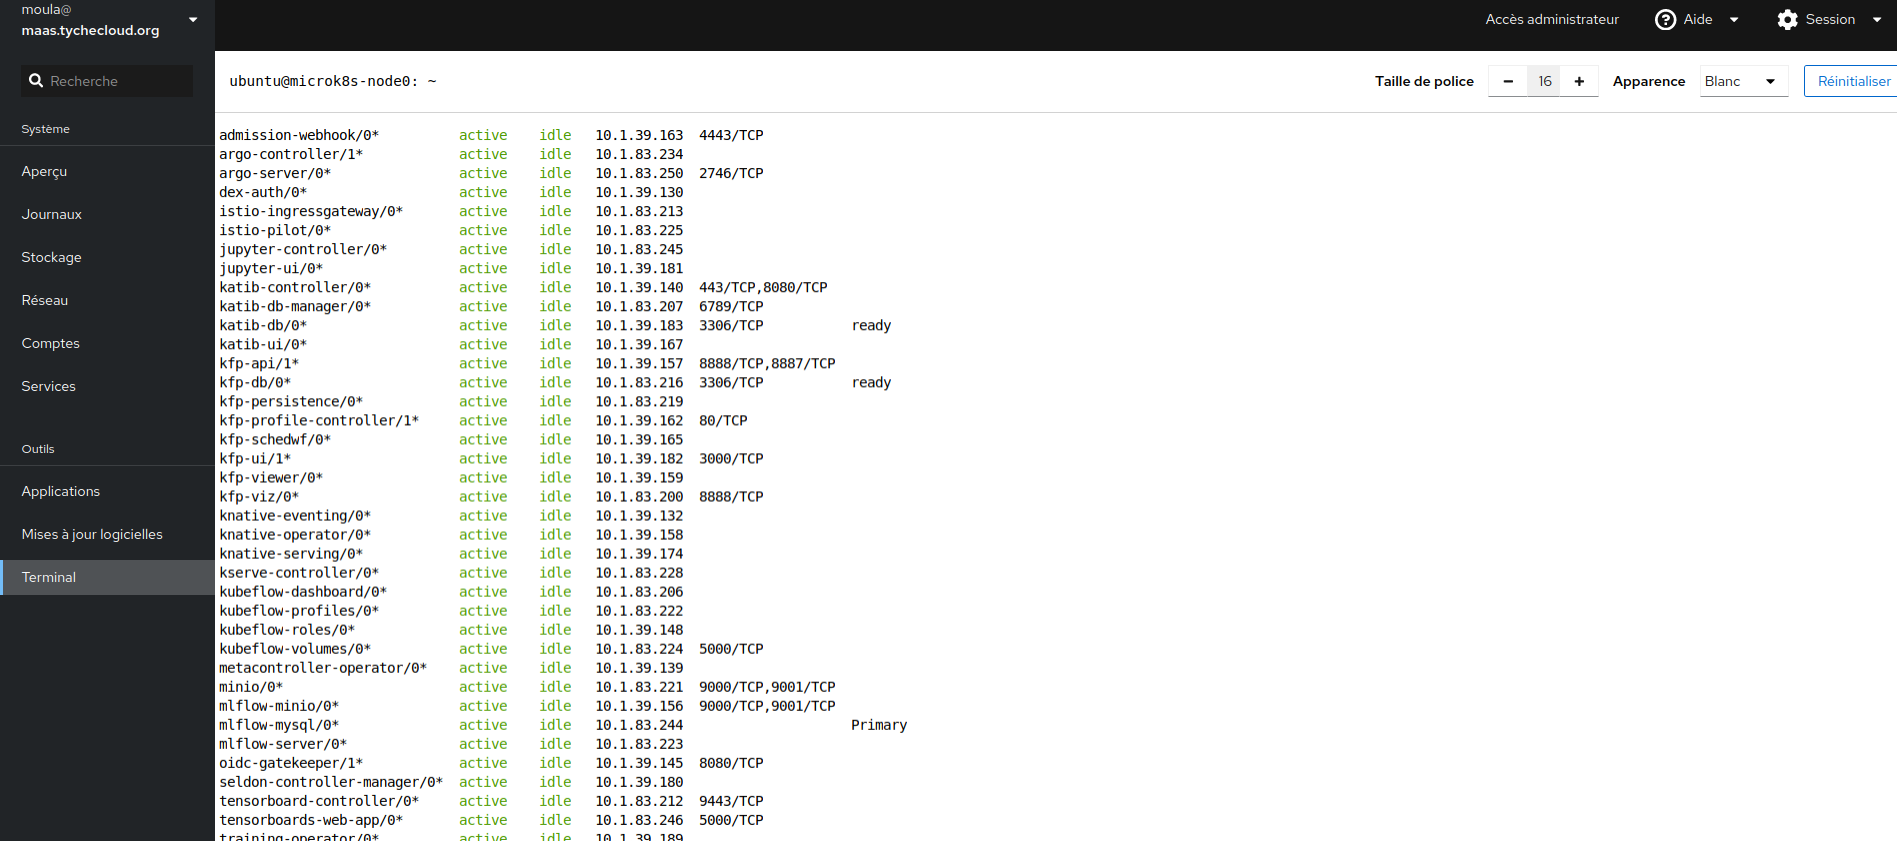
Access MLflow
To access MLflow, visit the following URL in your web browser:
http://localhost:31380/
This will take you to the MLflow UI.
Note: by default Charmed MLflow creats a nodeport on port 31380 where you can access the MLflow UI.
That’s it! Charmed MLflow has been deployed locally with microk8s and Juju. You can now start using MLflow.
Reference: Object storage credentials
To use mlflow you need to have credentials to the object storage. The aforementioned bundle comes with minio. To get the minio credentials run the following command: juju run-action mlflow-server/0 get-minio-credentials --wait
This action will output secret-key and secret-access-key