
Prerequisites
- Juju CLI - Necessary for all deployments
- MicroK8s - Necessary for local deployments
Windows and MacOS
The commands below are for an Ubuntu 20.04 machine. You can find instructions for Windows and MacOS in the next session.
References and other operating systems:
Installing Juju
Windows
Visit the project’s downloads page and select the signed installer for the Juju version you wish to install.
Installing MicroK8s
Windows
-
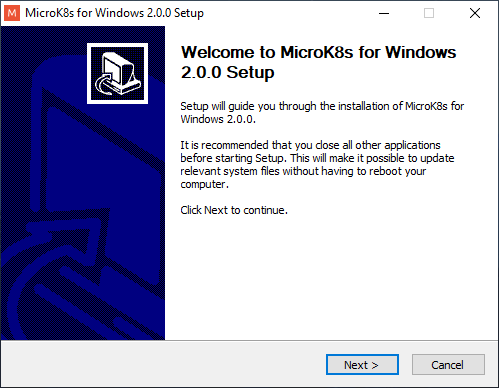
Download the MicroK8s Installer Download the latest installer here
-
Run the installer
The installer checks if Hyper-V is available and switched on. If you don’t have Hyper-v (e.g. on Windows 10 Home edition) it is possible to use VirtualBox as an alternative.
- Configure MicroK8s
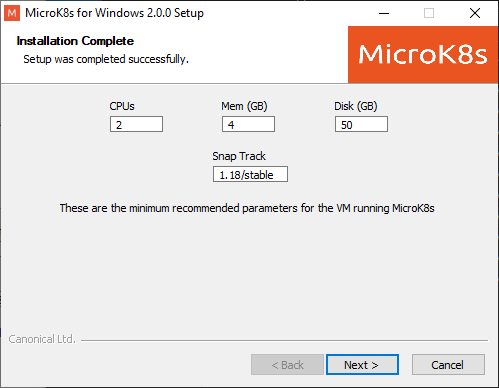
You can now configure MicroK8s - the minimum recommendations are already provided. For information on changing the ‘Snap Track’, see this page.
MacOS
The installer for MicroK8s uses HomeBrew. If you don’t have the brew command you can install it from the Homebrew website.
- Download the MicroK8s installer
brew install ubuntu/microk8s/microk8s
- Run the installer
microk8s install
Configuring MicroK8s (all systems)
After installing MicroK8s, you can configure it by running
microk8s enable dns storage ingress
microk8s status --wait-ready
Make sure that
dns,ingressandstorageare listed asenabled. This can take a couple of minutes.