
Welcome to the guide on how to deploy Charmed Kubeflow on Charmed Kubernetes. In this guide, we will guide you through the process of connecting Juju to an existing Charmed Kubernetes cluster and deploying the Kubeflow bundle on top of it.
Prerequisites:
We assume that you have access to a Charmed Kubernetes cluster using kubectl . If you don’t have a cluster set up, you can follow this guide to deploy one on AWS.
Contents
- Install Juju
- Connect Juju to Charmed Kubernetes cluster
- Deploy Kubeflow bundle
- Connect to Kubeflow dashboard
- Set a default storage class
Install Juju
Install Juju:sudo snap install juju --classic --channel=2.9/stable
Connect Juju to Charmed Kubernetes cluster
Configure Juju to communicate with the Charmed Kubernetes cluster by creating a controller:juju add-k8s charmed-k8s-aws --controller $(juju switch | cut -d: -f1) \
--storage=cdk-ebs
Create a model. The model name needs to be kubeflow:
juju add-model kubeflow charmed-k8s-aws
Deploy Kubeflow bundle
Deploy the Kubeflow bundle:juju deploy kubeflow --trust --channel 1.7/stable
Wait until the deployments are active:
juju-wait -m kubeflow -t 2700
Connect to Kubeflow dashboard
Change gateway service type to NodePort:
kubectl -n kubeflow patch svc istio-ingressgateway-workload \
 -p '{"spec":{"type":"NodePort"}}'
Set the dex-auth and oidc-gatekeeper public URLs using the IP address of the node and the port specified in the istio-ingressgateway-workload service:
NODE_IP=$(kubectl -n kubeflow get nodes -o wide | sed -n '2 p' | awk '{print $7}')
NODE_PORT=$(kubectl -n kubeflow get svc istio-ingressgateway-workload -o=json | \
 jq '(.spec.ports) | .[] | select(.name=="http2") | (.nodePort)')

PUBLIC_URL="http://${NODE_IP}:${NODE_PORT}"

juju config dex-auth public-url=${PUBLIC_URL}
juju config oidc-gatekeeper public-url=${PUBLIC_URL}
Set authentication methods:
juju config dex-auth static-username="test"
juju config dex-auth static-password="test"
Wait till applications are ready:
juju-wait -m kubeflow -t 2700
In your AWS account find the EC2 instance with that particular NODE_IP and enable access to the port NODE_PORT in the inbound rules of the security group. You can use this guide for the setup.
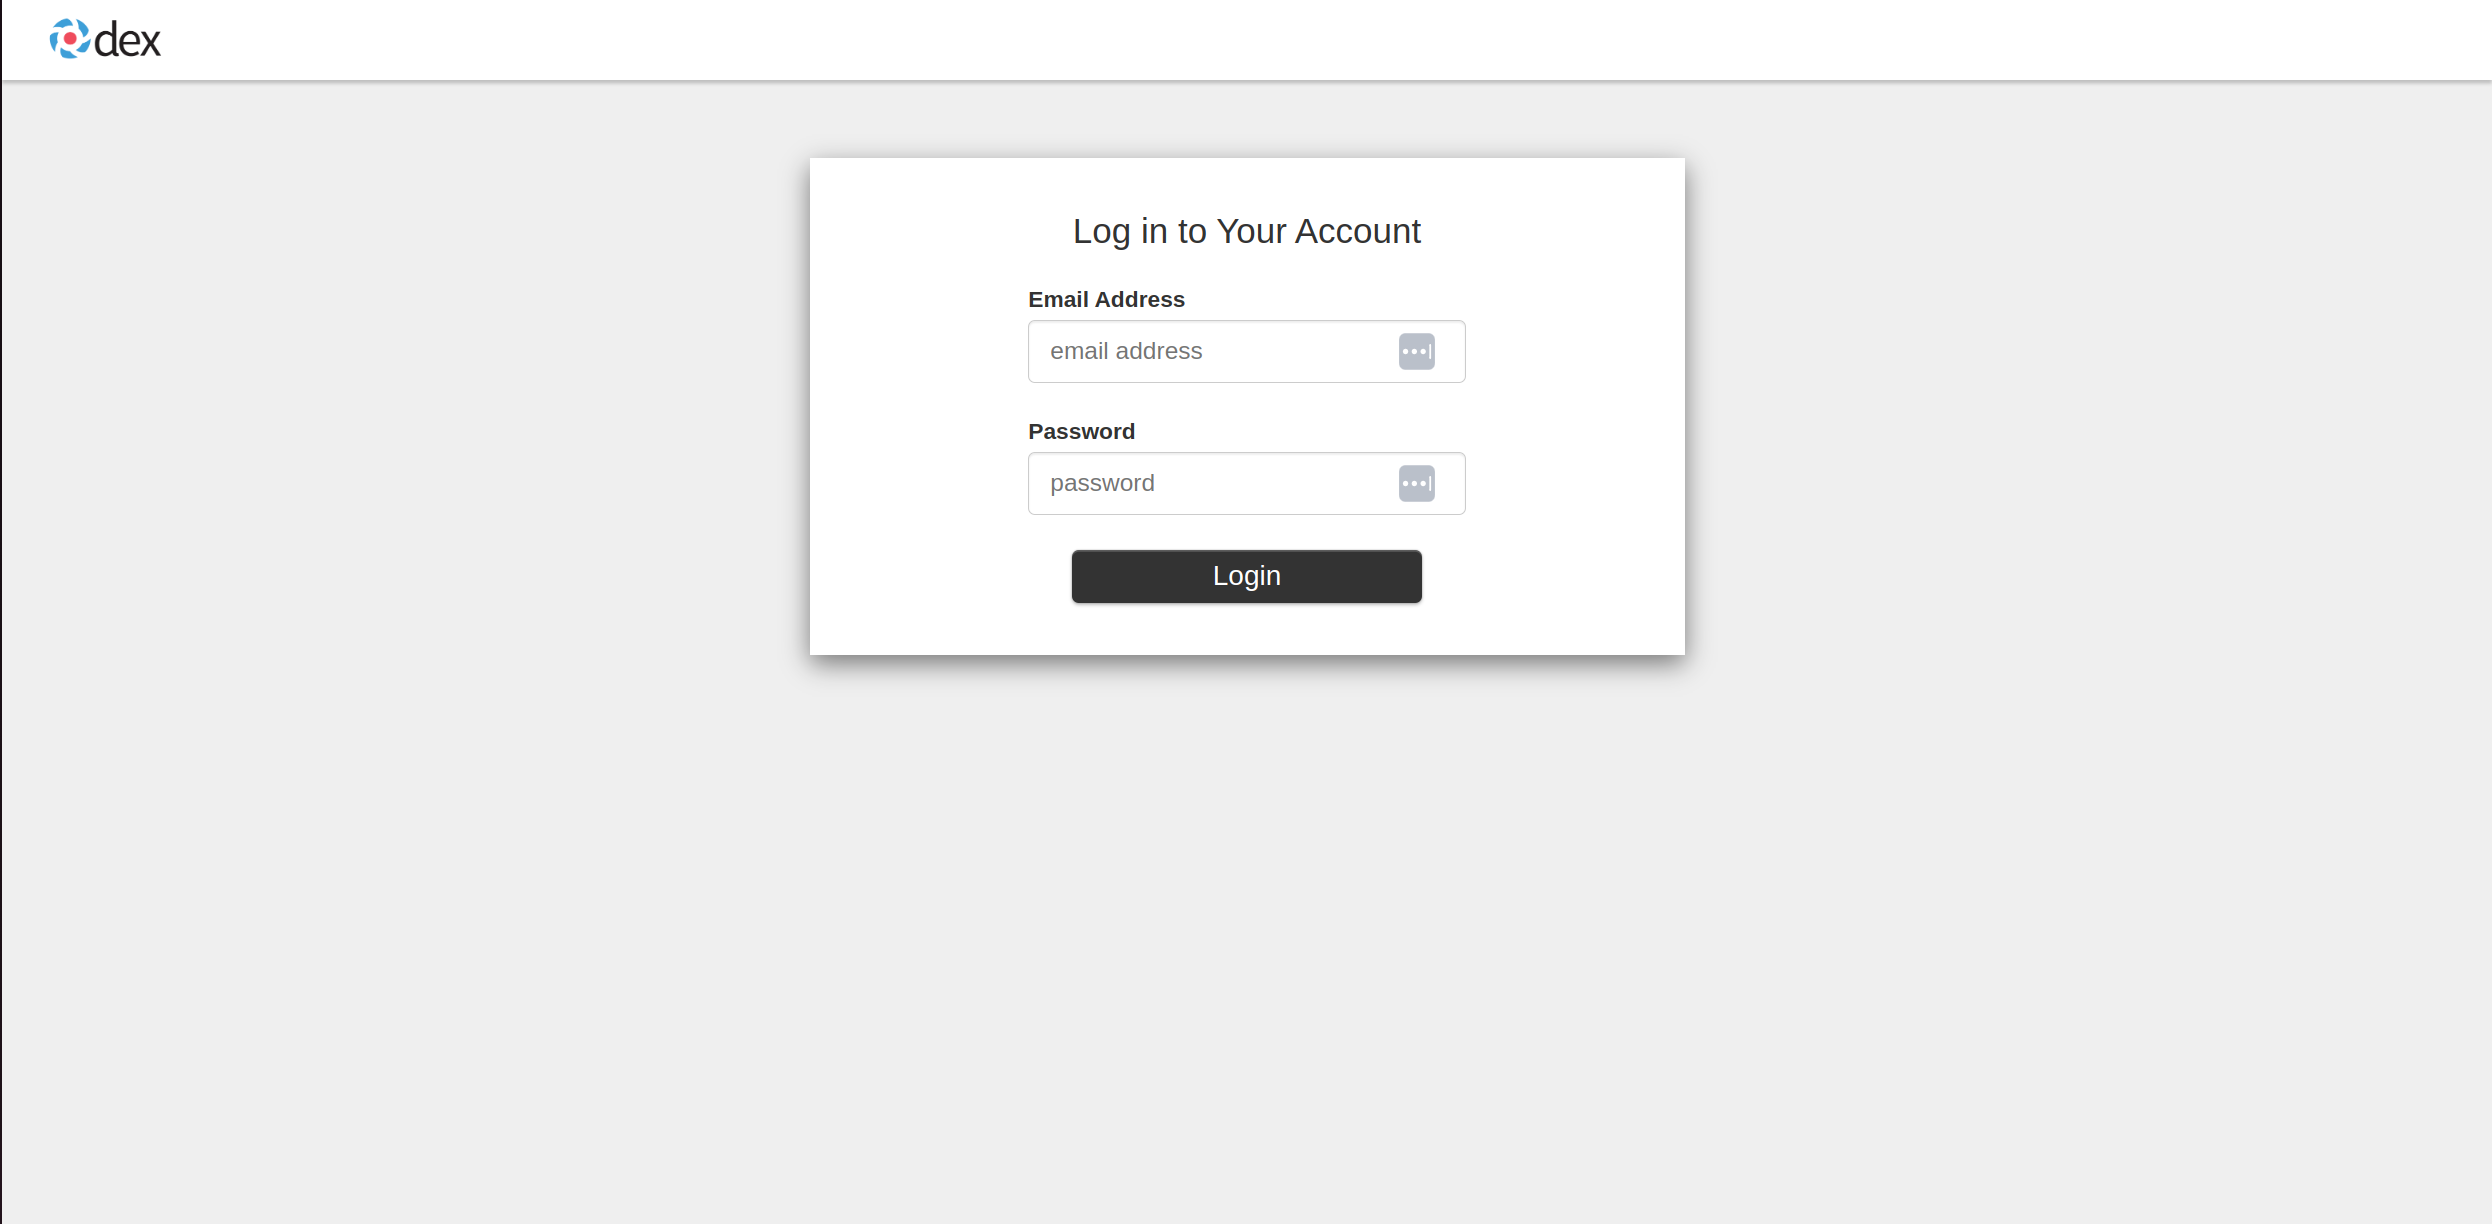
Now you can navigate in your web browser to the PUBLIC_URL and use USERNAME and PASSWORD to login.
Set default storage class
When you want to create a Jupyter notebook with Kubeflow you must have one of the storage classes set as default. Set the ebs storage class as default with following command:kubectl patch sc csi-aws-ebs-default -p '{"metadata": {"annotations":{"storageclass.kubernetes.io/is-default-class":"true"}}}'