
Warning: this document is no longer supported. See Archive.
| Key | Value |
|---|---|
| Summary | Learn how to set up Charmed Kubeflow authentication with OpenID Connect and Keycloak |
| Categories | docs, kubeflow |
| Difficulty | 3 |
| Author | Rob Gibbon |
Overview
Duration: 2:00
Charmed Kubeflow delivers a powerful, sophisticated end-to-end MLOps platform which you can deploy in half an hour or less, using MicroK8s or another conformant Kubernetes distribution.
In this tutorial, we will learn how to configure Charmed Kubeflow for multi-user collaboration with OpenID Connect (OIDC) using Keycloak for user authentication.
We’ll be using the Keycloak federated SSO system for this how-to guide.
What you’ll learn
- How to configure Keycloak for integration with Charmed Kubeflow
- How to add user credentials to Keycloak
- How to configure Charmed Kubeflow to use Keycloak for OIDC-based SSO authentication
What you’ll need
- A Kubernetes cluster (eg. MicroK8s running on Ubuntu 20.04 with one or more nodes running Charmed Kubeflow - see the install guide to get up and running
- Some command line knowledge
Contents:
- Quick install Keycloak
- Configure Keycloak
- Configure Charmed Kubeflow
- Log into Charmed Kubeflow
- It’s a wrap
- Further reading
Quick install Keycloak
Duration: 5:00
For this how-to guide, we’ll install Keycloak on the Kubernetes cluster to help get you started quickly. However in a typical production setting, Keycloak will likely be deployed and managed outside of the Charmed Kubeflow environment - if that’s the case for you, then you can skip this first step and just follow the rest of the guide.
kubectl create namespace keycloak
kubectl create -f https://raw.githubusercontent.com/keycloak/keycloak-quickstarts/latest/kubernetes-examples/keycloak.yaml -n keycloak
You’ll need to wait up to a few minutes until Keycloak successfully deploys. You can check the status using the kubectl command. When you see output similar to the output below, you’ll be good to go:
kubectl get pods -n keycloak -o wide
NAME                        READY   STATUS    RESTARTS   AGE   IP            ...
keycloak-555bfb8b94-tdlns   1/1     Running   8          10s    10.1.100.53   ...
Configure Keycloak
Duration: 10:00
The next step is to access the Keycloak login page using your favourite browser. You can find the IP address of the Keycloak server in the output of the kubectl get pods command listed above. If Keycloak is running on a remote cluster, you can use sshuttle to help you access it. Run the following commands:
sudo apt install sshuttle -y
sshuttle -r <USERNAME>@<HOST> <keycloak_server>
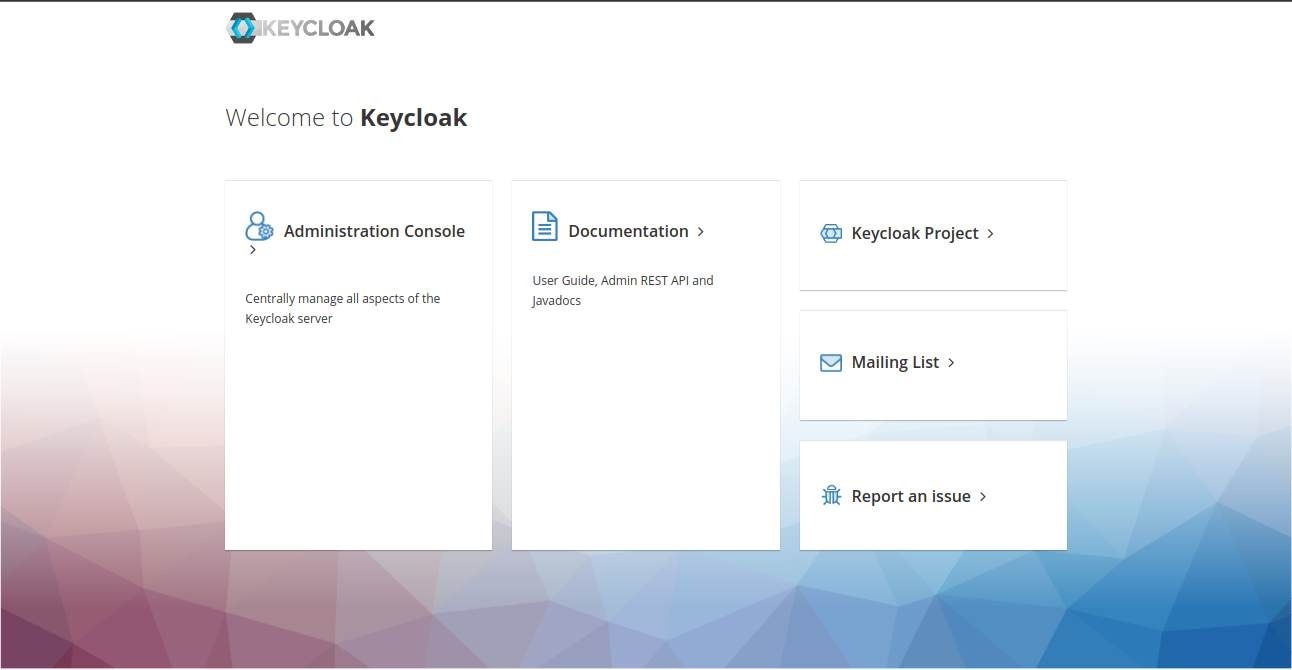
Then point your browser to http://<keycloak_server>:8080/ and click on Administration Console
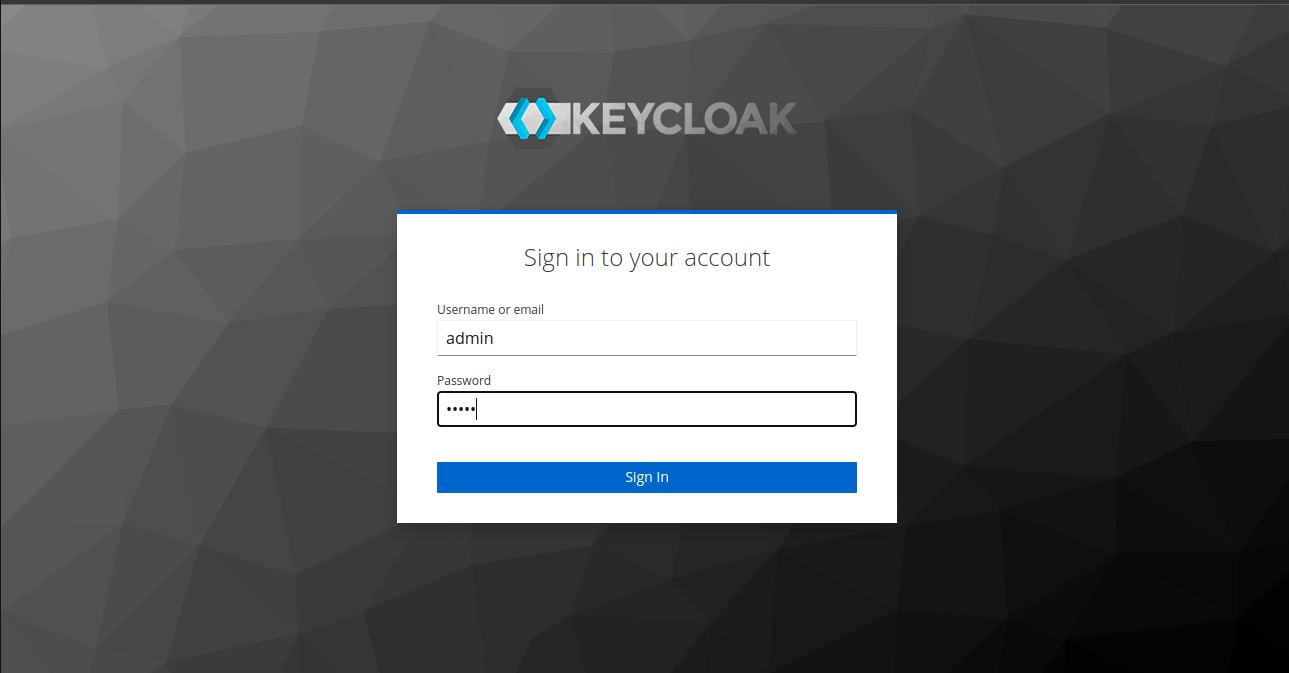
You should now see the login page, use the default credentials admin/admin to log in to Keycloak.
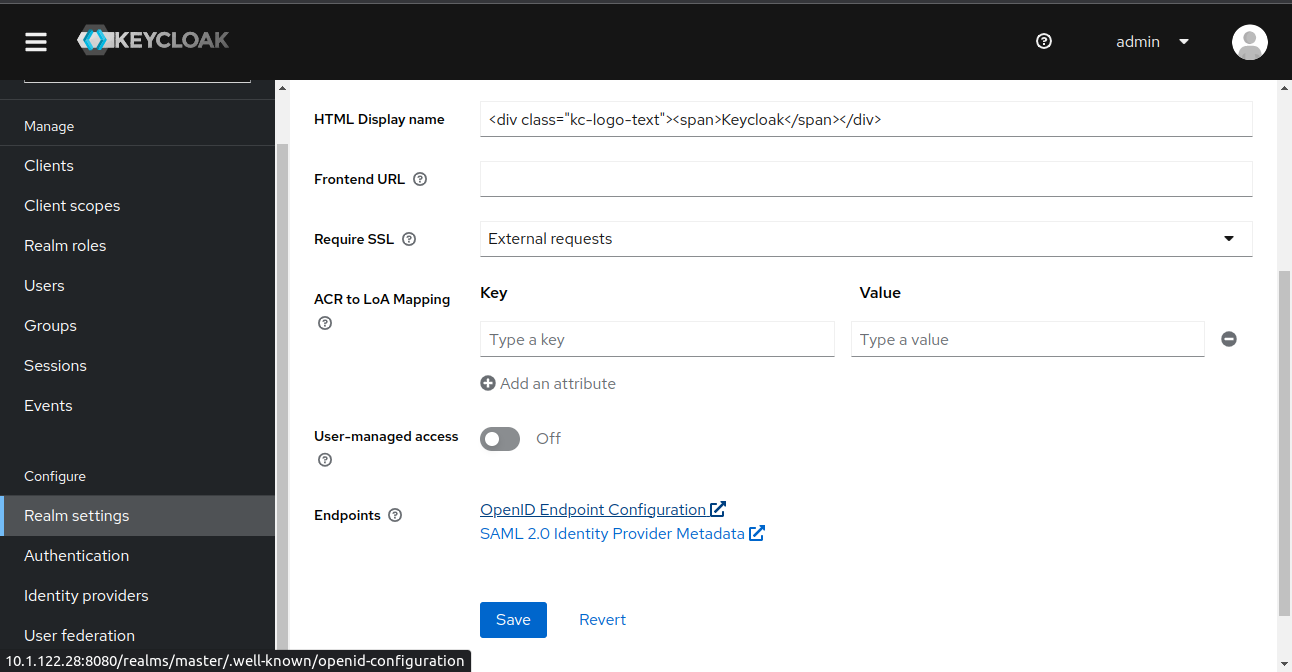
Once you have logged in, navigate to the Realm Settings screen, scroll down, and click OpenID Endpoint Configuration. From the JSON code that’s shown, find the issuer value and make a note of it, as you will need it later.
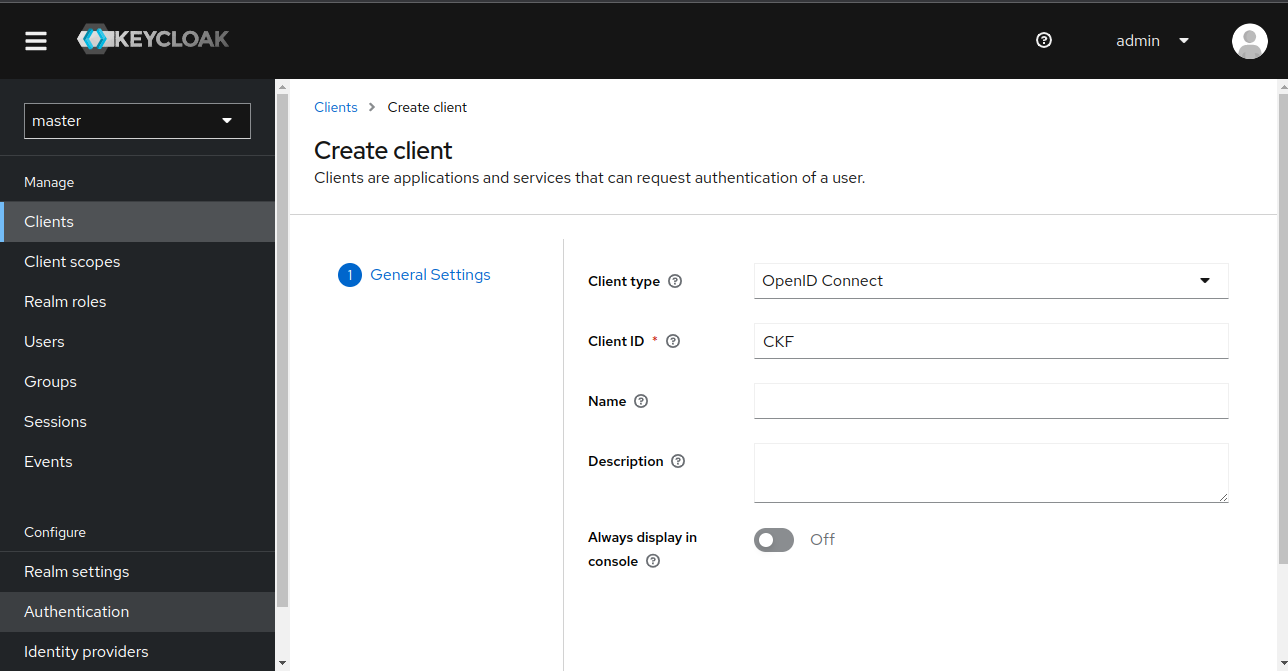
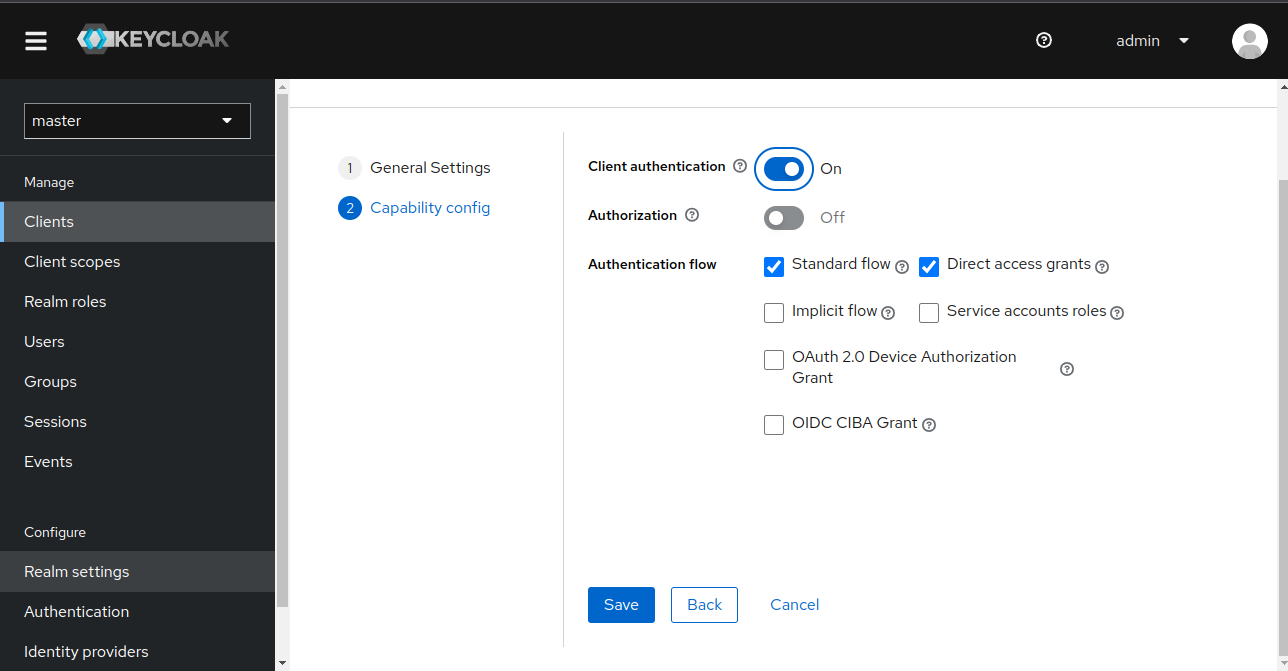
Now we’re going to create a new client configuration, so navigate to the Clients screen and click Create client. Select Client type as OpenID Connect, enter your preferred clientid, for example you could enter “CKF” then click Next. We’ll use the clientid a bit later, so make a note of the value that you chose.
Next turn on Client authentication and hit Save.
Valid Redirect URI, add your Charmed Kubeflow deployment’s public URL with the path as follows – it should be similar to http://<YOUR FQDN>/dex/callback – and press +. Make a note of this URL as you will need it later. Scroll down and hit Save.

You should now see a new tab at the top of the screen, Credentials - navigate to it, and make a note of the client secret as you will need it later.

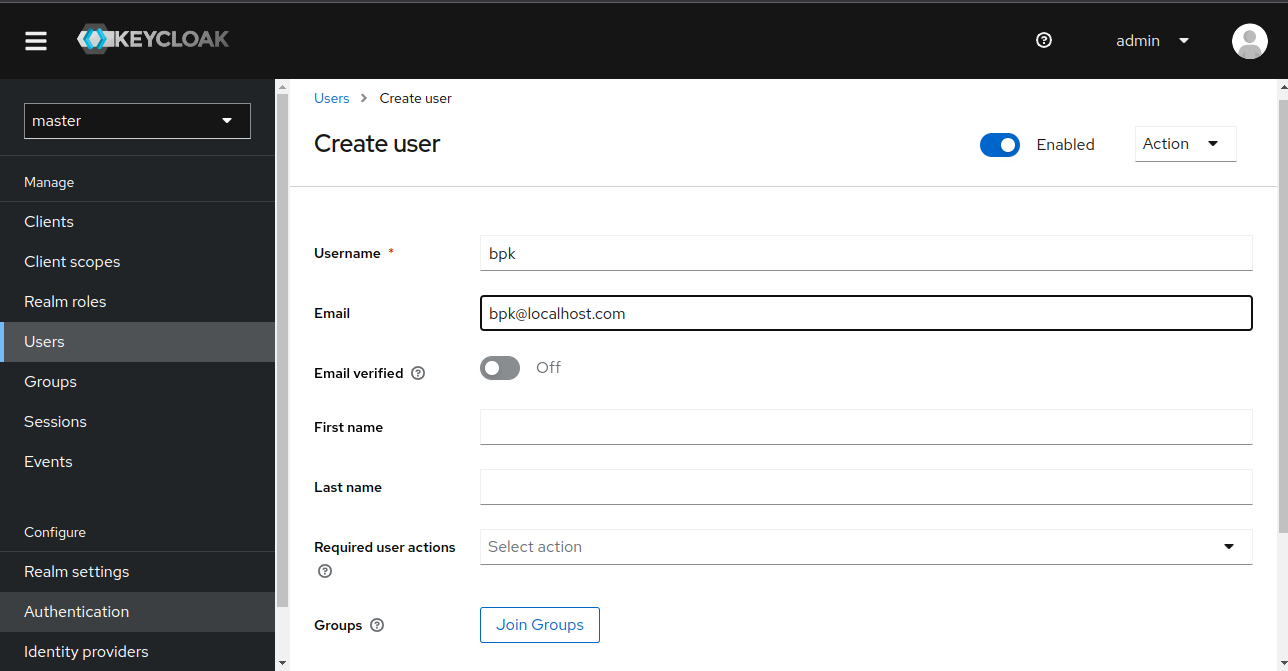
User configuration
Go to Users, click Add user, and create a new user by filling in Username, Email, and checking Email Verified. Hit Create.
Now go to the Credentials tab and click Set password (turn off Temporary). Hit Save.
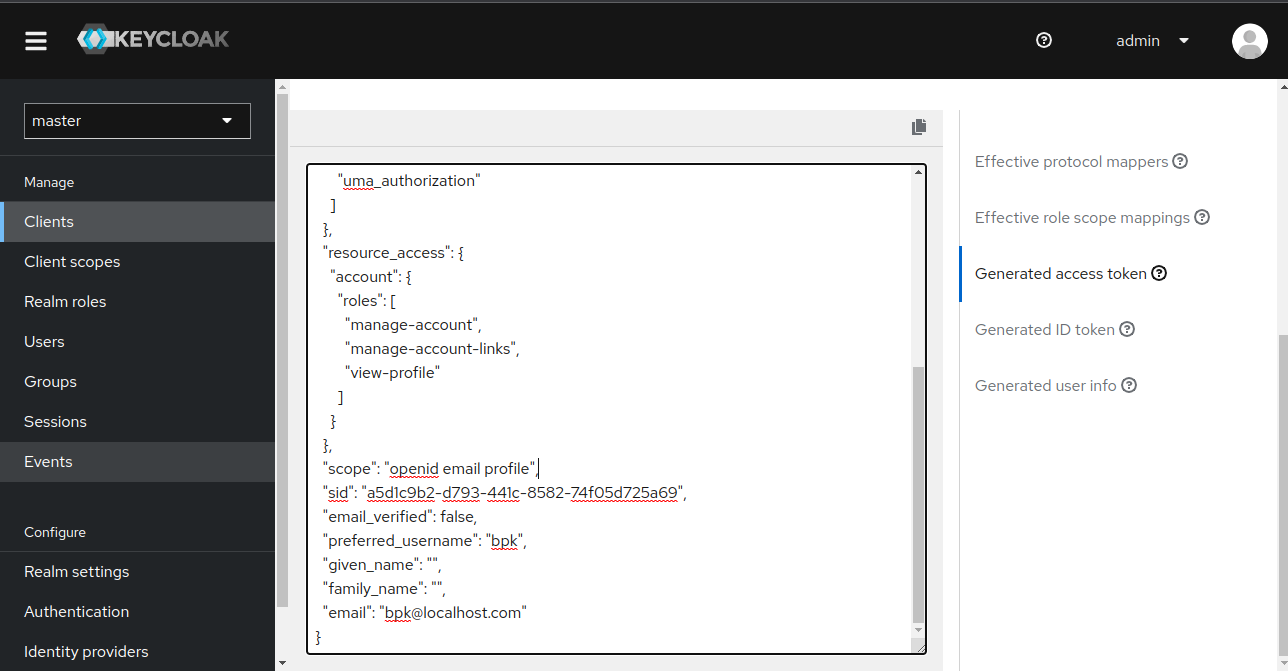
Client scopes configuration
Navigate to the Client screen and select your client, eg. CKF. Navigate to the Client Scopes tab, Choose Evaluate enter the username. Go to the Generated Access Token tab, and make a note of the scopes that are shown in the JSON code shown, as you will need this information later. Typically they are likely to be openid, profile and email.
Configure Charmed Kubeflow
Duration: 5:00
We should have the following information noted from configuring Keycloak:
issuerclientidclient-nameclient-secretcallback URLScopes
With that information, we can configure the Dex OIDC connector for Charmed Kubeflow. Run the following commands, making sure to substitute the placeholders for the values that you noted down whilst configuring Keycloak. If you’re missing a setting, go back over the previous tasks and check to find it before proceeding!
cat > oidc-connector.json <<EOF
[
 {
   "id": "keycloak",
   "name": "OpenID Connect",
   "type": "oidc",
   "config": {
     "issuer": "<ISSUER>",
     "clientID": "<CLIENT_NAME>",
     "clientSecret": "<CLIENT_SECRET>",
     "redirectURI": "<DEX_CALLBACK>",
     "userNameKey": "preferred_username",
     "scopes": [
       <SCOPES>
     ]
   }
 }
]
EOF
juju config dex-auth connectors="$(cat oidc-connector.json)"
Log into Charmed Kubeflow
Duration: 2:00
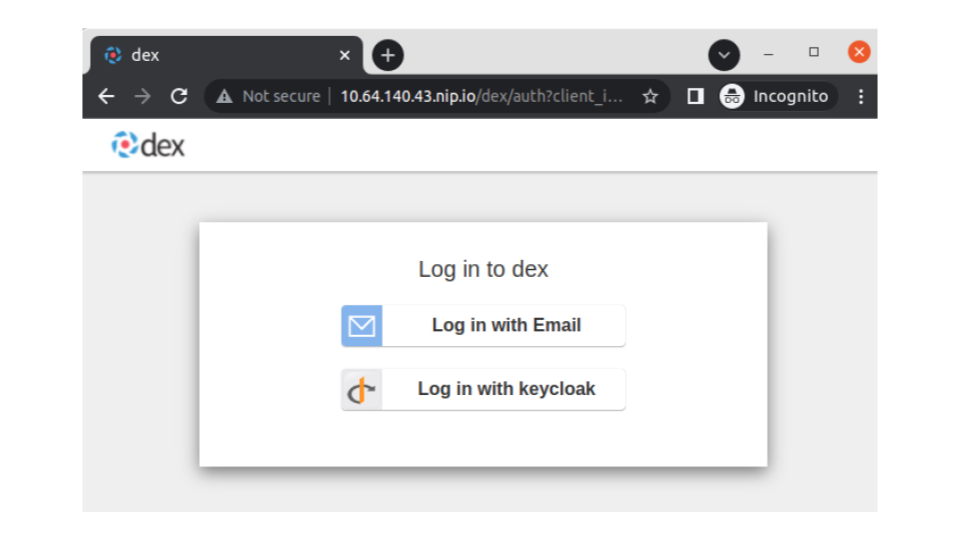
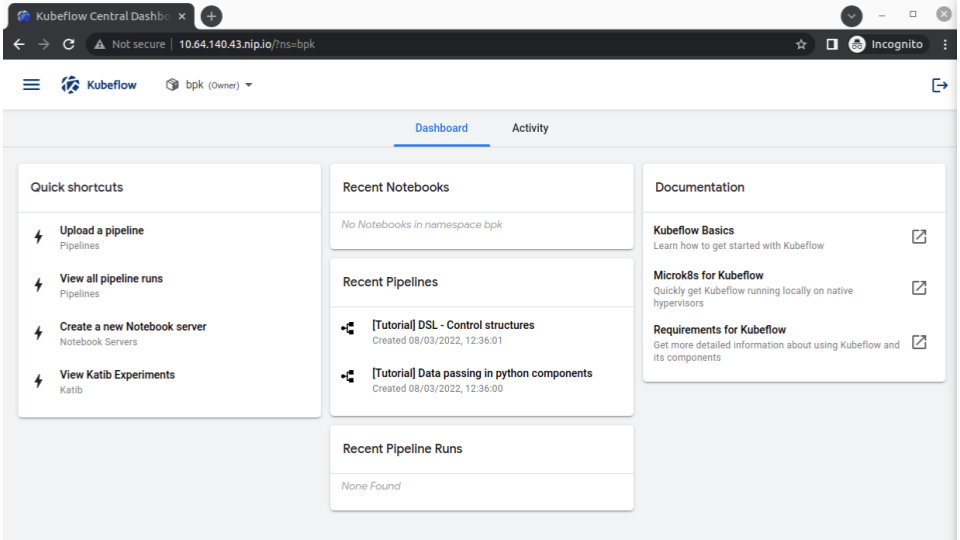
You’ve reached the last step!! Log into Charmed Kubeflow by selecting Log in with OpenID Connect. After you enter the username and password, you should be redirected to the new user onboarding workflow in the Kubeflow UI. You are ready to explore Charmed Kubeflow now!
It’s a wrap
Duration: 1:00
Congratulations! You should now have an OIDC setup based on Keycloak successfully connected to your Charmed Kubeflow MLOps platform! But if you’re having difficulties, don’t worry - head over to the forum to ask a question and get in touch with the community.
Further reading
Duration: 1:00
- Read the Charmed Kubeflow authentication guide
- How to setup authentication with OpenLDAP for Charmed Kubeflow
- How to use Charmed Kubeflow with GPUs
Have questions? Contact our sales team now.
