This guide describes how to get started with Managed Kubeflow on Azure. It is a fully managed solution that gives access to a Machine Learning (ML) platform including Kubeflow, MLflow, Grafana and Prometheus running on top of Azure Kubernetes Service (AKS).
Preparation
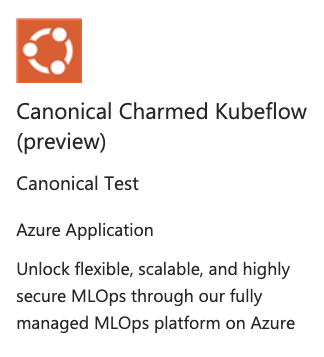
Visit the Azure Portal. Within its marketplace, look for Charmed Kubeflow. Select the card similar to the following within the available plans:

You can read about the solution’s capabilities, pricing model, and usage information.
Now get started with Managed Kubeflow by creating a new deployment.
Basics
This section describes the basic configuration required for your deployment.
Project details
Choose your subscription.
You may have more than one subscription in your account.
Now select the resource group to which you want to link the deployment.
Instance details
Select the deployment location closest to your physical location. Note that different locations might have different pricing models.
Ensure you have access to the provided email. You will use it to access the deployed cluster.
Select the maximum number of GPUs that the cluster can be provisioned with. By default, the cluster uses zero GPUs and scales up depending on workloads.
Select the virtual machine size for the deployment based on your expected workloads. By default, the deployment comes with the minimum possible size.
Move to the next step to configure Open ID.
Open ID authentication configuration
This section describes the configuration required for the Open ID authentication. This enables the connection of your Managed Kubeflow deployment to the Azure Identity Provider.
Retrieving Open ID information
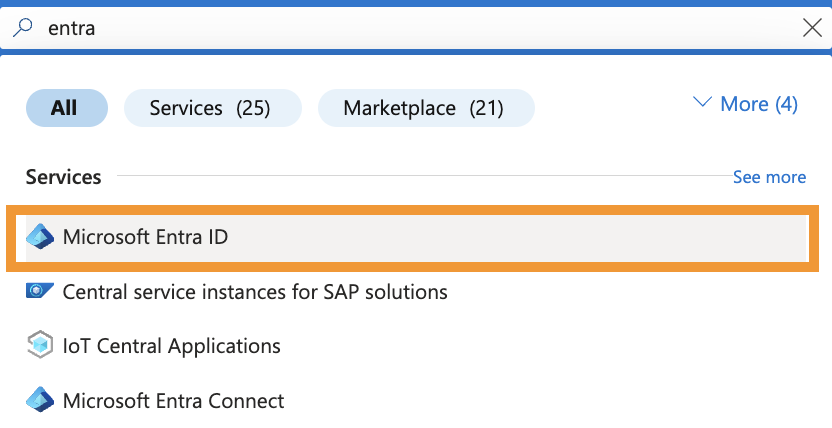
To obtain the information needed for this step, open the Azure Portal in a new tab and search for Microsoft Entra ID.

Click on App registrations under the Manage dropdown and create a new registration:

Enter the name of the application in your Entra ID.
Note that your Entra ID name does not necessarily need to be the same as the application name or the Kubeflow deployment.
Leave the rest of the fields as they are by default.
Make sure “Accounts in this organizational directory only (canonical.com only - Single tenant)” is selected.
After that, click on Register and wait for a few seconds. You will be redirected to your new application dashboard, which you can access from Overview.
Collect the Secret Value
In your newly created application, click on Certificates & secrets under the Manage dropdown. Navigate to the Client secrets tab and create a new client secret:
Add a description and finish the creation by clicking on Add.
Once you create it, copy and save the secret value and ID before closing or refreshing the page.
Collect the Open ID URL
You can collect your Open ID URL by going to the Overview page of your Microsoft Entra ID dashboard. In the top bar, click on Endpoints:
From the URLs listed, copy and save the Open ID Connect metadata document URL.
The URL includes the path “.well-known/openid-configuration” which is not needed. Your URL should look as follows:
https://login.microsoftonline.com/$UUID/v2.0
Where instead of $UUID you see a string of numbers, symbols, and letters.
Collect the Client ID
You can retrieve your Client ID from the Overview page of your Entra ID dashboard, under the Essentials section. Save it for later use.
Complete the Open ID form
Once you have retrieved all the Open ID information, go back and fill in the required fields:
- Open ID URL: Open ID Connect Metadata Document URL.
- Client ID: Application ID.
- Client Secret: Secret Value.
Review and Submit
Review the provided information, read the terms and conditions and submit your deployment application.
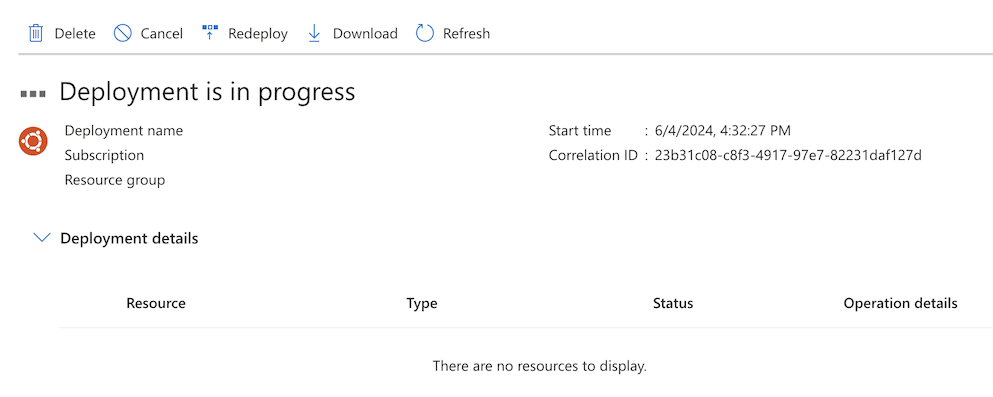
The deployment may take between 15 and 60 minutes to complete, depending on location and network connectivity.

Once the deployment is completed, you will receive an email notification from noreply+portal+managed@canonical.com.
Configure the identity provider
You need to configure the redirect URL for the identity provider. You can do it from the onboarding email you should have received after the deployment is completed.
Overlooking this step may result in undesirable service quality.
Access the Kubeflow dashboard
You can access the Kubeflow dashboard using the URL provided within the onboarding email. Alternatively, you can go the Azure Portal, navigate to your deployment and check the Outputs section. This section includes the URLs for accessing Kubeflow, MLFlow and Grafana dashboards.
Get help
If you are a new user trying to deploy Managed Kubeflow:
- Get in touch with Canonical Managed Services for customised deployments.
If you are an existing user:
- Visit the Support portal . To do so, you need an Ubuntu One account.
- Contact our support team. You will be asked to provide your Ubuntu One account details, your subscription date, and the email address associated to the deployment.